
Mastering ONVIF Interoperability for VMS Integration
Learn how to ensure seamless compatibility between IP cameras and third-party management software using the ONVIF standard.
Why this matters
When you sell security hardware, your customers expect a unified system, but incompatibility between brands creates massive frustration and costly project delays. Without a firm understanding of ONVIF, you risk selling cameras that cannot communicate with the customer's preferred video management software, leading to hardware returns and lost trust in your technical recommendations.
The core idea
ONVIF stands for Open Network Video Interface Forum, an industry standard designed to make IP-based security products talk to each other regardless of the manufacturer. Imagine if every smartphone charger were a different proprietary shape; that is the world of security cameras without standardization. ONVIF provides a common language for video streaming, device discovery, and configuration control.
The protocol relies on two primary pillars: device discovery, which allows your VMS (Video Management Software) to locate the camera on the network, and the authentication handshake, which verifies the user credentials to allow the software to pull the video feed. To use ONVIF, you must bridge the gap between the camera's internal firmware and the external software, ensuring the protocol is enabled and protected by a set of valid credentials.
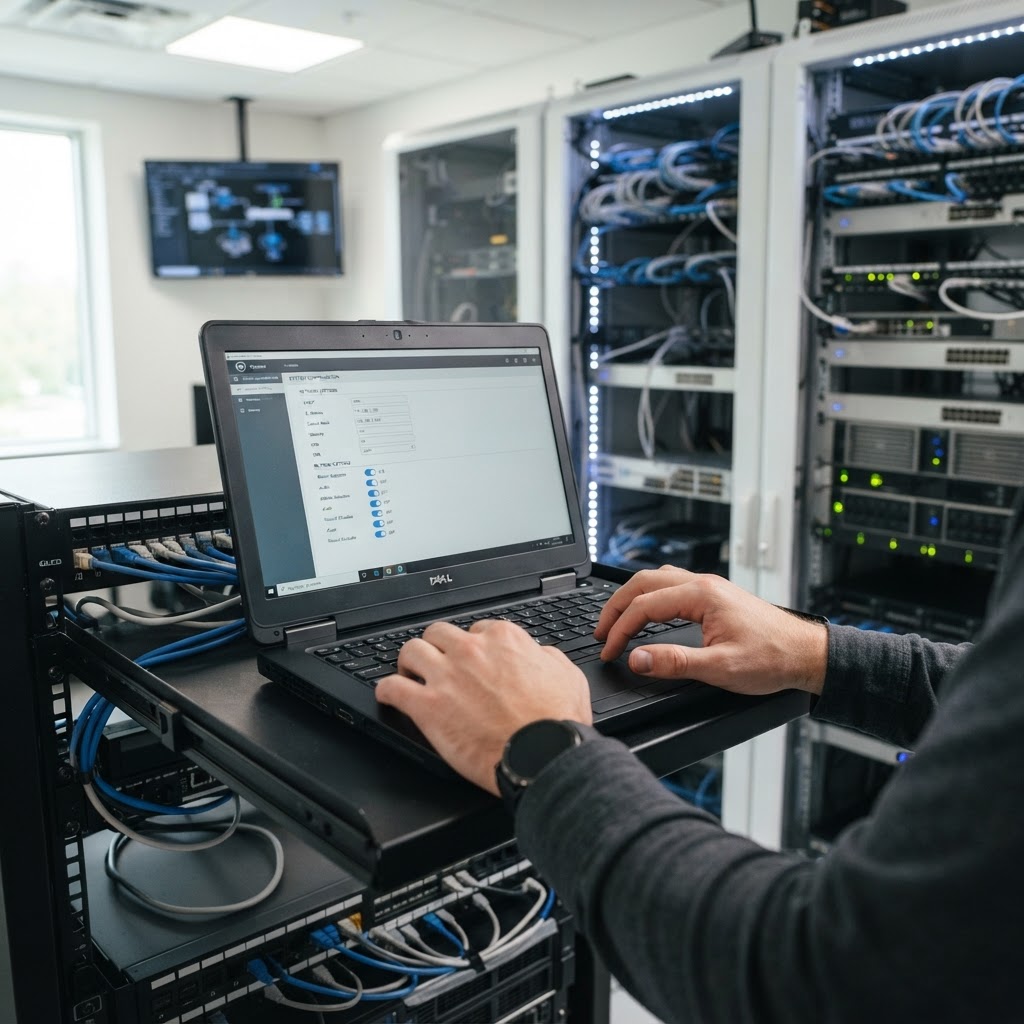
Configuring internal firmware settings is the first step toward successful cross-platform device discovery and connectivity.
How it works in practice
In our distribution environment, when deploying brands like LTS or Hikvision into a third-party VMS such as Milestone or ExacqVision, you are essentially asking two different 'languages' to translate through a middleware. First, access the camera's web-based interface by typing its IP address into a browser. Navigate to the Configuration or Network tab and locate the Advanced settings. You will find a toggle for ONVIF; ensure this is set to Enabled. Crucially, you must then create an ONVIF-specific user. Many modern cameras require a dedicated service account for this purpose, distinct from the main admin account.
Set a strong password for this account. In your VMS, when adding the device, select the ONVIF driver rather than the proprietary manufacturer driver. Input the IP address, the port (usually 80 or 8080), and the exact username and password you just created in the camera menu. The system will then perform a handshake, validating the credentials against the camera’s security policy before pulling the RTSP stream.
Worked example
A customer calls you complaining that their newly purchased LTS cameras are showing a 'Login Failed' error in their Milestone VMS. Initially, the customer tries to troubleshoot by spoofing the MAC address of the camera, thinking the software is filtering devices based on manufacturer IDs. This is incorrect. The MAC address is a physical hardware identifier and has no bearing on software-level authentication. The correct process is to have the customer log into the camera's internal browser interface. They discover that while the camera is on the network, the 'ONVIF' toggle was left in the default 'Disabled' state.
After enabling the protocol, they create a specific user account labeled 'ONVIF_User' with a complex password. Returning to the Milestone VMS, they update the camera credentials using this new account information. The software instantly recognizes the device, the handshake completes, and the live video stream appears without further hardware modifications.
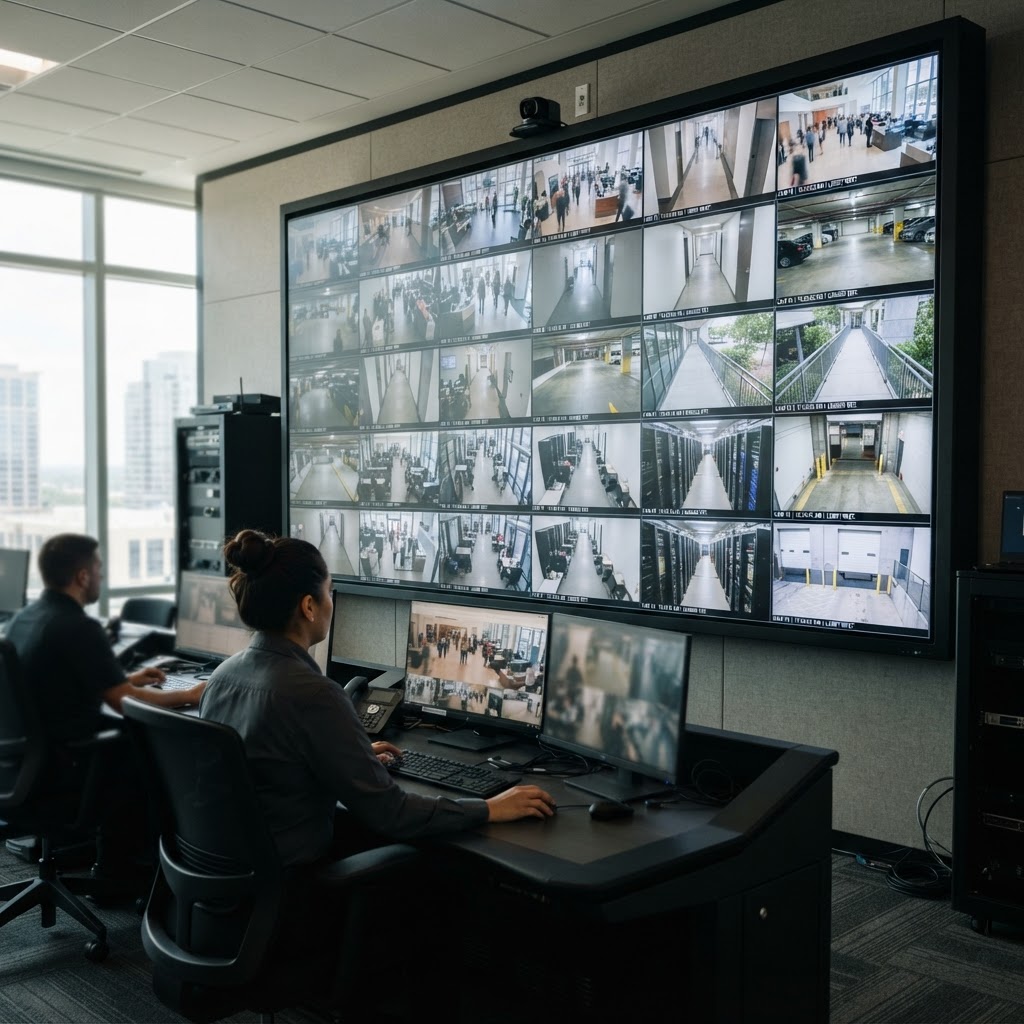
Successful integration allows the management software to stream high-quality video instantly once authentication is properly configured.
Where people go wrong
First, the most frequent error is neglecting the MAC address misconception. Changing a MAC address does nothing to solve communication errors; it only creates network conflicts and makes the device harder to find. Second, users often forget to 'Enable' the feature, assuming it is active by default. Many manufacturers disable ONVIF out of the box for security reasons. Third, people frequently attempt to use their default web-login credentials for the ONVIF service account.
While these might sometimes overlap, best practice dictates that you should always define a specific user in the security settings tab dedicated to ONVIF, as this prevents account lockouts and permission conflicts. Finally, failing to verify the correct port number is a common oversight; check the manufacturer’s documentation to see if they utilize a non-standard port for their ONVIF traffic.
Key takeaways
- ONVIF is a standard language, but it must be manually enabled in the device settings before any third-party software can interact with the camera.
- Never attempt to bypass authentication by modifying physical identifiers like MAC addresses, as this will never resolve software compatibility issues.
- Always create a dedicated ONVIF user account inside the camera's firmware to ensure secure authentication with your chosen VMS.
- When adding a camera to a VMS, select the ONVIF driver to ensure the software knows to use the standardized protocol instead of a proprietary plugin.
- Double-check that your ONVIF port settings match both the device firmware and the VMS input field to ensure successful communication.